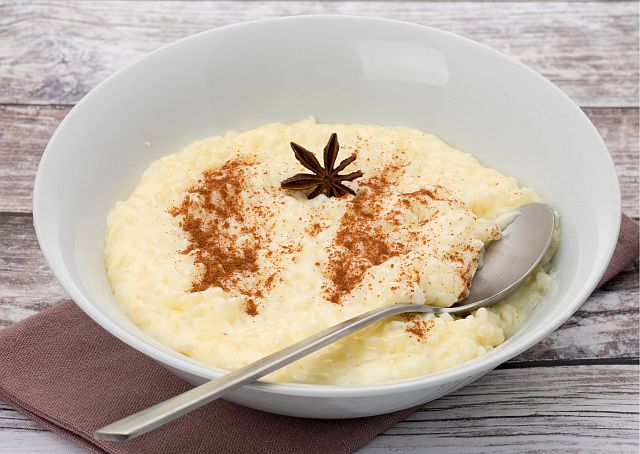
Rice kheer is one of the best mouthwatering traditional desserts in Indian cuisine. Also called payasam or Indian rice pudding, it is offered to almost all deities of the Hindu religion. With the rich, creamy texture, irresistible taste, mesmerizing flavors, and lots of dry fruits and nuts, a bowl full of rice kheer offers all of these and even more.
Those who have eaten rice kheer will agree that it leaves everyone craving for more, more and…
Want to make yummy rice kheer?
It’s simple and hassle-free. You can make it in any way, enhance the taste with various ingredients, and get creative with the platting part.
In this article, I have shared the Indian rice pudding recipe with the ingredients (with proportionate measurement). Do read my pro tips and FAQs, where I have added some insights that may be helpful for you.
So, let’s start making the rice kheer.

Things you will need
You can prepare a simple dish for the family or make a special version for the guests and festivities following this recipe. You can make rice kheer with only 4 basic ingredients. But in Indian homes, people add plenty of ingredients to make a delicious dessert.
I have added a list of all items you can put in the kheer.
Essential Requirements
- Basmati rice (1/2 cup) – The taste of kheer depends largely on the quality of the rice. Basmati has a strong pleasant aroma and is ideal for making flavorsome rice kheer.
- Full cream milk (2 liters) – You need to boil the milk to get the thick creamy consistency for kheer. Full-fat milk is the perfect choice for making delightful kheer that melts in your mouth. (For the vegan version, use almond/coconut/soy milk)
- Sugar (1 cup) – You may use refined table sugar for making kheer. In West Bengal, refined sugar is often substituted with rock candy/rock sugar. It is entirely your choice but rock sugar comes with loads of vitamins, minerals, and has a cooling effect.
- Cardamom powder (1 pinch) – Cardamom mixes well with the kheer to give an amazing flavor combination alongside the aromatic basmati rice. If you don’t have cardamom powder, you can even put the seeds of green cardamom in kheer.
Optional Ingredients
- Ghee
- Jaggery (sugar substitute)
- Cashew
- Pistachio
- Almond
- Walnut
- Sweet raisin
- Rosewater
- Kewra water
- Saffron
- Condensed milk
- Khoya/milk powder
How to Make Rice Kheer? Step-by-Step Recipe

# Step 1- Prepare the Ingredients
Once you start cooking, you will not get any time for the preparation. You must constantly stir the milk when putting on the heat. So keep the things ready before boiling the milk.
- Soak the rice for 30 minutes. Rinse the soaked rice 2-3 times thoroughly to remove the dirt. Soaking the rice is vital to make it soft and ease the cooking process.
- Wash the nuts and remove the skin if you want (must for pistachios). Drain the water and chop the nuts into fine pieces. You may also roast the nuts to get the crunchy feel.
- If you want a nice flavor and light yellowish tint, soak a few strands of saffron in hot milk (4 tbsp).
# Step 2- Boil the Milk
It is preferable to use a heavy-based pan for cooking Indian rice pudding. You must keep stirring the milk to avoid scorching at the base.
Put some water (at room temperature) into the pan. You may also grease it with ghee (1 tsp). Ghee is also aromatic and enriches the taste of the kheer.
Now add milk and turn on the flame. Bring it to a boil and start stirring it constantly.
# Step 3- Cook the Rice
When the milk reduces to 3/4th of the original quantity, set the gas on low flame. Now add the soaked rice and keep stirring constantly. Make sure nothing is sticking at the base.
After adding the rice, you can continue cooking on a medium flame. If the milk escalates too much, you can lower the flame for some time.
Check the rice occasionally to see if it has become tender.
# Step 4- Add Sweetener
Your rice must be soft and mushy before adding sugar.
If the rice is not cooked properly, it won’t if you add sugar too early.
Remove some rice and check with your hands if you can mash it easily. If you can, it’s time to add the sugar and stir constantly on a low flame. Once it melts, check the taste. You can add more sugar as per taste if required.
# Step 5- Thicken the Kheer
You must keep stirring the kheer on a low/medium flame to avoid sticking. As the kheer reduces in quantity, keep scraping the sides to prevent burning. There should be sufficient liquid before you remove the kheer from the stove.
# Step 6- Add Flavors and Garnish the Kheer
If you want to put saffron or other flavoring agents (rose/kewra water), add it for a couple of minutes before removing the kheer from the flame. You must mix properly to get a consistent color.
Add a pinch of cardamom powder and stir the kheer on low flame for a minute. Now remove the pan from the flame. Add some chopped nuts and mix properly.
Empty the kheer into a large bowl. Put some nuts and raisins on the top to get the picture-perfect look.
Rice Kheer FAQs
What type of rice is used for making kheer?
Any flavored rice is ideal for making kheer. In India, people use locally available flavorful rice varieties to make kheer.
Some popular variations other than basmati are Gobindobhog (very popular in West Bengal), Kolam, Sona masuri, etc.
How to serve rice kheer?
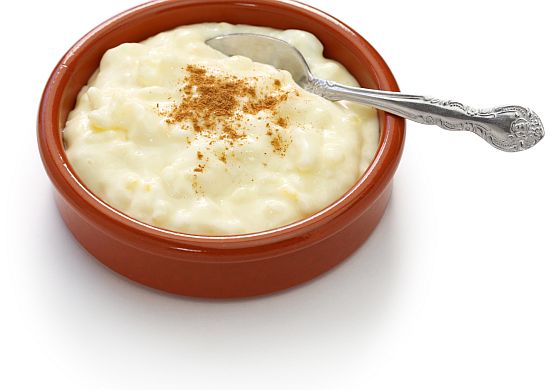
You can eat rice kheer hot, chilled, or even at room temperature. Serve a bowl full (you will want more). Garnish with some more nuts, raisins, and rose petals (optional). Your rice kheer is now ready to serve.
How to make kheer instantly?
As you know, it takes a lot of time to thicken the milk before you can add rice to it. You can use other options to thicken the rice kheer quickly.
- Add some milk powder to get a thick consistency. If you want to add milk powder, don’t use 2 liters of milk. You will need 1-1.5 liter of milk for boiling the rice.
- Add khoya or condensed milk to make thick creamy kheer fast.
You must adjust the quantity of sugar if you want to add milk powder or condensed milk. These items add some sweetness to the kheer so, you must reduce the sugar accordingly.

Can I substitute sugar with jaggery to make rice kheer?
Yes, you can. However, you must take care of certain things. Never put jaggery in hot milk. It will split the milk in the kheer.
If you want to use jaggery, turn off the gas when the rice becomes tender. Allow the kheer to cool down. When it attains room temperature, add jaggery powder and mix well.
In case you don’t have jaggery powder, make a syrup of jaggery in water. Use a strainer to remove the impurities. When kheer is at room temperature, you can add the syrup to get a flavored sweet taste.

Can I add artificial sweeteners instead of sugar in rice kheer?
Of course, you can. You have to add the sweetener as per your taste. Try experimenting with a small quantity to find out how much sweetener you may need.
What to eat with Rice Kheer?
Rice kheer is a complete dish you can eat without anything else. Eat it anytime- breakfast, lunch, or dinner.
You can eat rice kheer with puri (deep-fried bread), chapati/roti (wheat bread), paratha (layered flatbread), daal puri/raadhaballavi, etc.
How to reheat kheer?
You can keep the rice kheer and eat it chilled for 2 days. But in winter, it is preferable to eat it hot. Kheer is loaded with fat (full cream milk) so, it can provide warmth.
Don’t heat the entire kheer every time. Take the desired quantity in a bowl. Set the food warming option on your microwave to heat the kheer.
It is also possible to kheer on the stovetop. Make sure there is sufficient liquid in the kheer or, it will burn very soon. If it is too dry, you may mix some fresh milk and put it on the gas.
Pro Tips to Cook Rice Kheer
- Never add raisins when the kheer is on flame. The raisins will swell up too much and lose their taste.
- If you want to refrigerate the kheer for the next day, avoid garnishing it with raisins. The kheer will become stale when you try to reheat it the next day.
- Use brown rice to make healthy kheer if you eat this dessert frequently. It has too many brans so, soak brown rice for at least 3 hours to get the required softness before cooking.
Rice Kheer is the ultimate dessert for any occasion. You can make it during festivals, birthdays, ceremonies, poojas, or any other event. I hope this article has given you enough tips to make luscious kheer. So, wait no more, start making your kheer now.